Welcome to DARKTEA
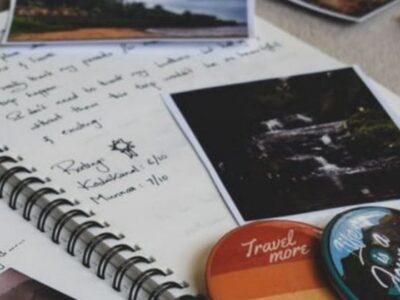
Where we use journaling to help us become the person and create the life we want.


WHY DARKTEA?
Think about the cup of tea you forgot you were making because you were distracted by children, too busy talking to friends or you lost yourself in an activity. It happens to all of us.


Kate Darktea
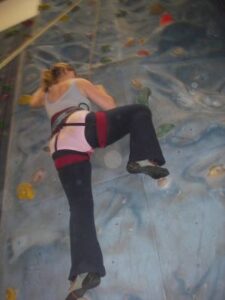
I’m a working mum who understands how you feel. We know we’re not young, but we don’t feel old. We still want to achieve things, even if they seem impossible, or we don’t know what they are. I’m walking the same path as you, trying to make the best use of my time, so I can support my family, create a home and develop my own interests and career. I share my experiences and what I’ve learnt so the path is easier for you, and we can all learn to thrive in our own way.
Popular Topics